What to Expect During a Roof Replacement in Colorado
If you've scheduled a roof replacement — or you're close to signing a contract — you probably have a list of practical questions beyond the product and price. How long will this take? What will happen to my house during the process? What do I need to do to prepare? What does the day-of actually look like?
Here's a realistic, step-by-step picture of what a roof replacement looks like in Colorado, from the week before installation through final completion.
Before Installation Day — Permits and Scheduling
In Colorado, most roof replacements require a building permit. The permitting authority depends on your address — the City of Denver, Aurora, Boulder, or your relevant county — and each has its own process, fee structure, and inspection timeline.
A qualified roofing contractor handles permit pulling on your behalf. Once a permit is issued, the contractor schedules the installation date. Lead times between contract signing and installation typically run one to three weeks for standard projects — longer if the permit takes extra time to process or if the project requires specialty materials.
You'll usually receive a confirmed installation date and an approximate start time one to three days before. In Colorado, summer and fall are peak roofing season — scheduling lead times are longer May through October than in winter months.
The Day Before — What to Do to Prepare
A few practical preparations make the installation day smoother for everyone:
- Move vehicles out of the driveway and garage area if possible. The crew will need access around the perimeter of the home and will have a dumpster or roll-off container for old materials.
- Move anything breakable or sentimental off walls and shelves — vibration from nail guns and the weight of crews walking the roof can rattle items loose, particularly on upper floors.
- Let your neighbors know the work is happening. A heads-up is a courtesy given the noise level.
- Arrange alternative plans for dogs and young children if possible. A full crew working on the roof is genuinely loud — typically 7 to 9 hours of sustained nail gun and compressor noise.
- Locate your electrical panel. In rare cases, a crew may need access to disconnect power to rooftop equipment.
Installation Day — The Actual Sequence
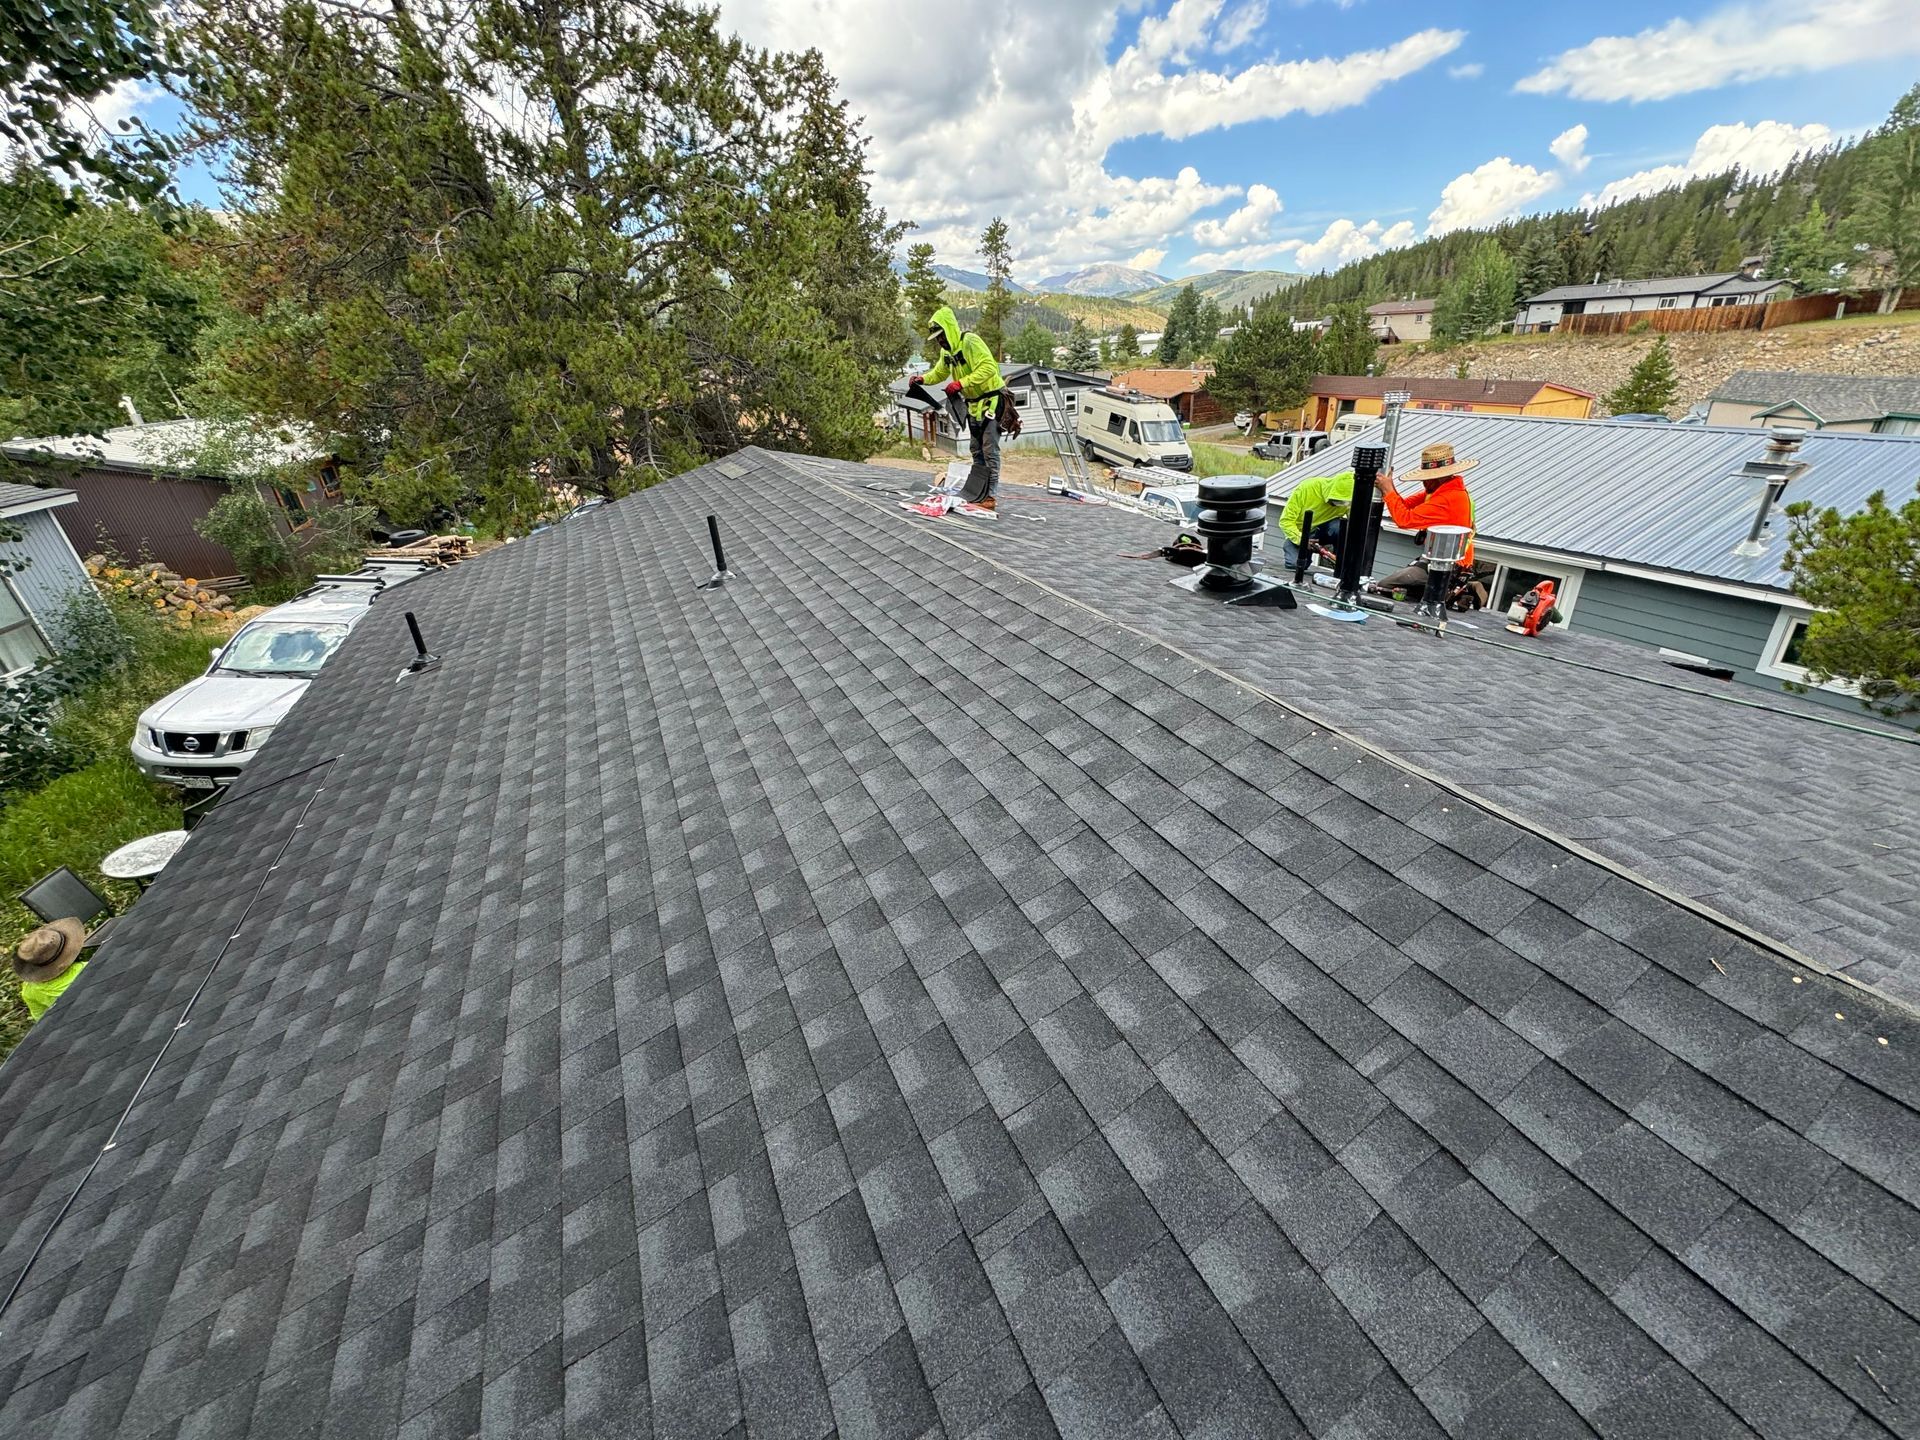
A standard residential roof replacement in Colorado follows a predictable sequence:
- Early morning start (7–8am). The crew arrives, stages materials, and sets up the dumpster or haul vehicle. Old roofing material is stripped first — this is the noisiest phase.
- Tear-off and inspection (1–3 hours). Old shingles, underlayment, and in some cases old ice and water shield are removed. The decking is inspected for rot, delamination, or damage. Any decking repairs happen at this stage — if significant deck work is needed, it adds time and cost.
- Underlayment and ice and water shield (1–2 hours). New synthetic underlayment is applied across the full deck. Ice and water shield — a self-adhesive waterproofing membrane — is applied at the eaves, valleys, and around penetrations.
- Flashing installation (1–2 hours). Step flashing at walls, valley flashing, pipe boot flashings, and drip edge are installed before shingles begin. This is the most detail-intensive part of a quality installation.
- Shingle installation (2–4 hours depending on size). Shingles are applied course by course from eave to ridge. Ridge caps are installed last.
- Cleanup and final inspection (1 hour). The crew performs a thorough magnetic sweep of the driveway, lawn, and perimeter for nails. The site is cleared of all debris. A project manager walks the completed roof and documents the installation.
Most standard single-story and straightforward two-story homes complete in one full day. Larger homes, complex rooflines, or projects requiring significant deck repair may run into a second day.
After Installation — Inspection and Sign-Off
Permitted roof replacements in Colorado require a final inspection by the relevant municipal or county building inspector. Your contractor schedules this on your behalf. The inspector verifies that the installation meets code requirements — underlayment, flashing, ventilation, and attachment. You typically don't need to be present.
Once the inspection passes, the permit is closed and your contractor provides a completion certificate. Keep this document — you'll need it if you file an insurance claim that references the roof installation date, or if you sell the home.
Ready to Replace Your Colorado Roof?
Formula Roofing & Remodeling handles the full process from permit to final inspection across the Denver Metro area, including Aurora and Boulder. For full details on our residential roofing services visit our residential roofing page, or call (303) 600-8696 for a free estimate.